Search functionality in Sapphire is typically used to locate one or more records in order to modify the data. The Query page element1 enables users to perform a search in order to generate a result set (all the objects at a particular location, for instance), and to save the results to PDF.
When used, the Query page element is the only element on a Form (it cannot be combined with any others):
The Programme Lead configures a Query page element to:
- search one or more fields in a specific module;
- return a maximum number of results; and
- list data from one or more fields.
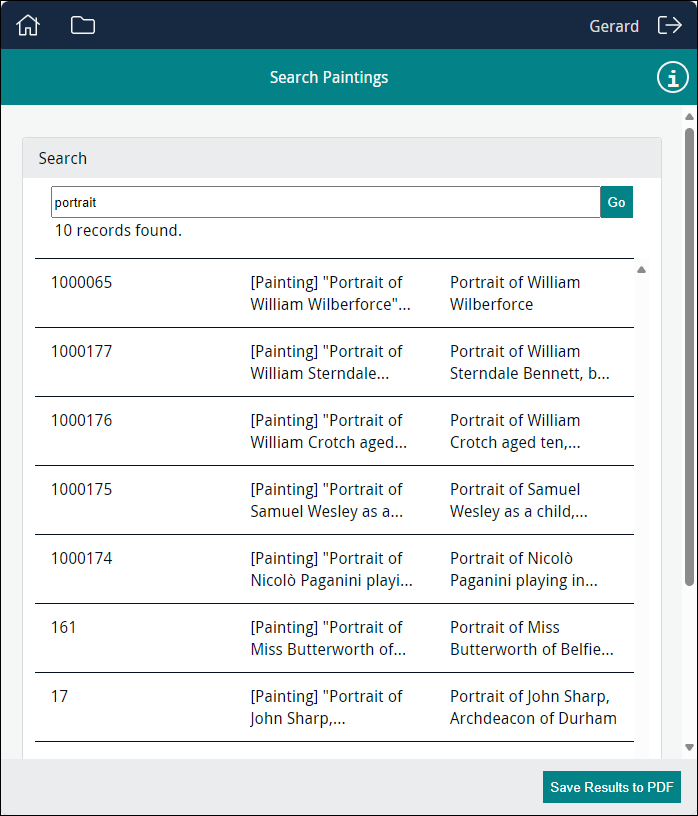
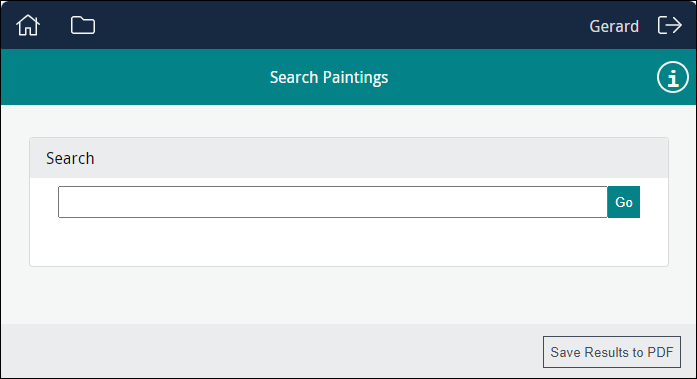
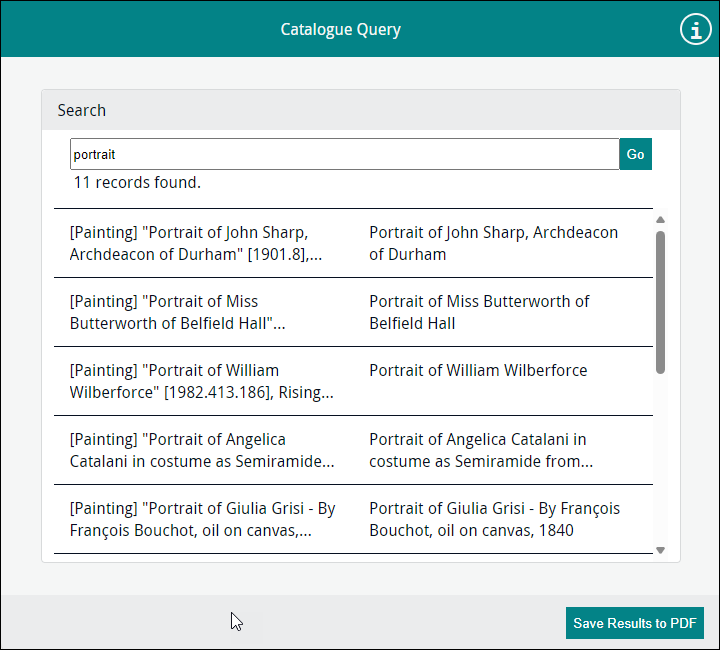
Users enter a search term (or no search term to return all records) and select Go (or press ENTER); the number of records found is indicated and results are listed below the search box:
Users are not able to edit the records, but can save the results to PDF by selecting  . A file, named using the Query page Title, is saved to the device's Downloads folder.
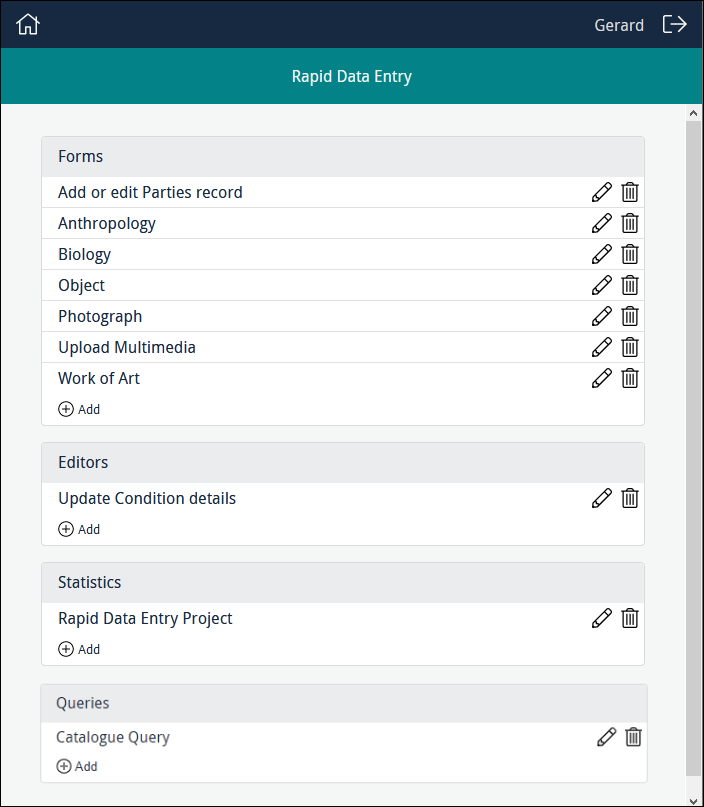
When a Programme Lead accesses a project, any Forms, Editors, Statistics tools and Query pages already created will be listed, along with options to edit, delete and add new instances of them, e.g.:
To edit an existing Query page, click  beside a Query page's title. The Query page will open ready for editing.
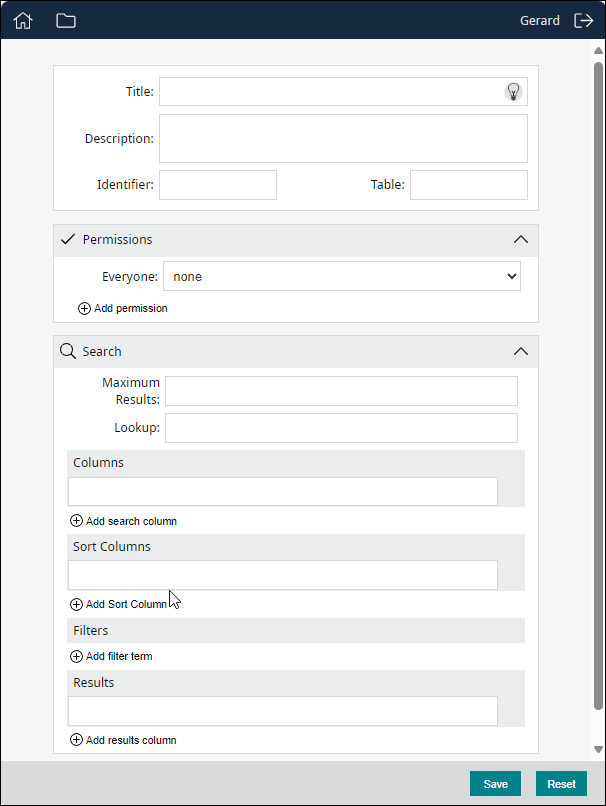
To build a new Query page, click  in the Queries section. The Query creator displays:
Here you configure a Query page, assign permissions to users (specify who can use this specific Query page; who can modify it).
In this example, we create a Query Page that searches Summary Data in the Catalogue module; only records where Object category = Painting will be returned to a maximum of 25 records; the result list will display the IRN, Summary Data and Main Title of the returned records, sorted in reverse alphabetical order by Main Title.
|
Title |
A descriptive name for the Query page; this will be listed in the Queries section for authorized users. Note: If users download the result set as a PDF, the file uses the title specified here as the filename. |
|
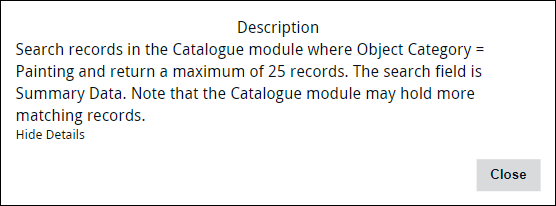
A description of the purpose of the Query page. When users access the Query page, an Information icon will display alongside the title: Clicking the icon will display a popup with the description.
Tip: If you set Maximum Results (below), it is worth mentioning the maximum number of records that will be listed so that users are aware that more records than are listed might match their search term. |
|
|
Identifier |
Provide a descriptive identifier for the Query page, or leave blank and an alphanumeric identifier will be assigned automatically. Typically, it is irrelevant whether the identifier is an alphanumeric value provided by the system or a label provided by the Programme Lead as it is only referenced behind the scenes by various components of Sapphire, or used to construct the URL for the Editor. If you want a more human-readable URL, assign an identifier. |
|
Table |
The module that holds the records to be searched. |
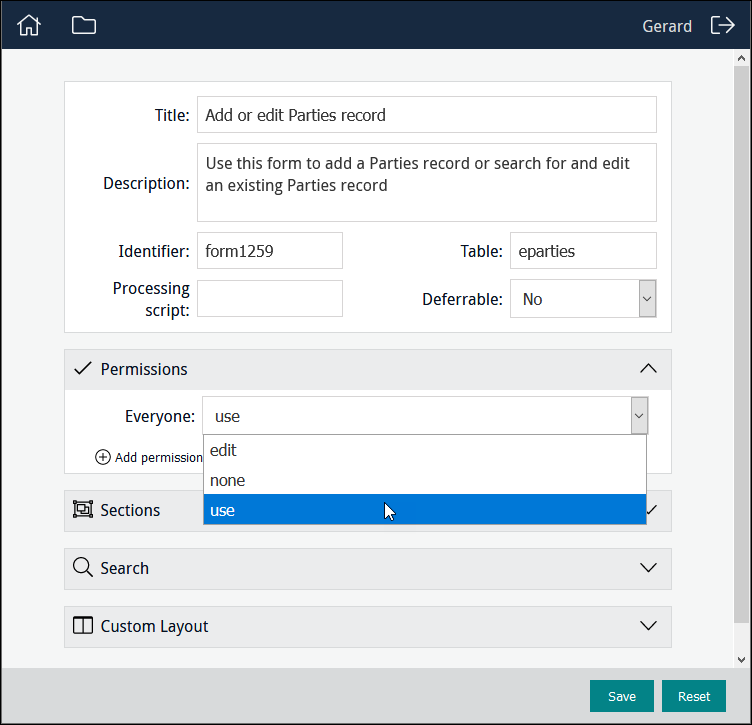
Three permissions for project elements (Forms, Editors, Statistics, Tasks, Query pages) can be assigned :
|
|
This is the default state for Everyone when a project element is created: the element is not available to users and will not be listed when they log in. |
|
|
When assigned, the project element will be listed when an authorized user logs in. The user can use the project element but not modify it. |
|
|
When assigned, the project element will be listed when an authorized user logs in. The user can use the project element, modify and delete it. When the project element is listed in the Dashboard, the edit |
To change access permissions that affect all users of a project element, select the appropriate permission from the Everyone drop list:
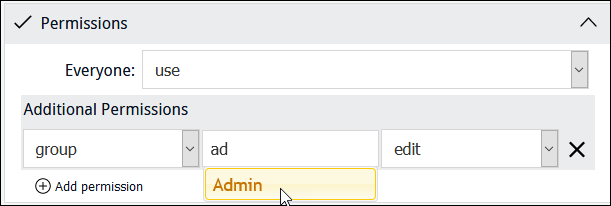
To change access permissions to a project element for a specific user or group:
- Click
 .
.Additional fields display:
- Select user or group from the first drop list.
- Begin keying a user or group name in the second field and select a name from the list of suggestions that will display:
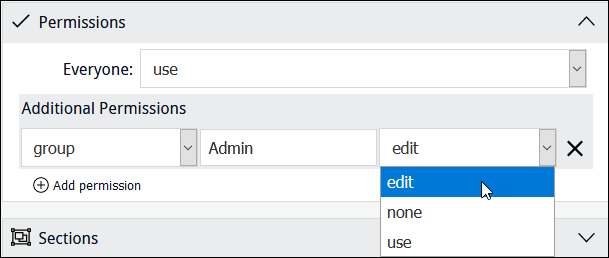
- Select a permission from the Permissions drop-list:
Note: Click  beside an assigned user or group permission to remove it.
-
Maximum Results is the maximum number of records that will be returned and displayed to users. Leave blank to return all records that match a user's search or enter a number to limit the number of records displayed.
If you set a limit, keep in mind that the searched module may hold more records that match a user's search term than can be listed and users may not realize that is the case. Be sure to add details to the Description field (above) indicating the maximum number of results that will be listed.
- (Optionally) Lookup: provide a drop list of search values2.
 Details
Specify the name of a Lookup List to provide users with a drop list of possible search values:
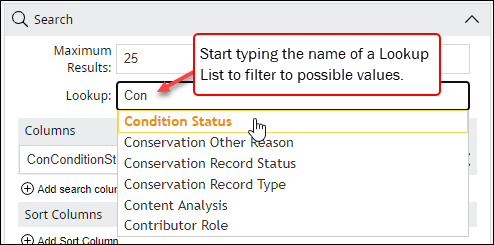
In this example, Lookup points to the Condition status Lookup List:
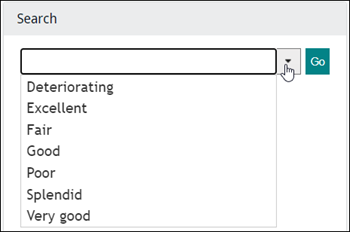
Setting the search column (in the next step) and the Lookup list to be the same effectively restricts the search to values found in the Lookup list (only values found in the Lookup list will be matched):
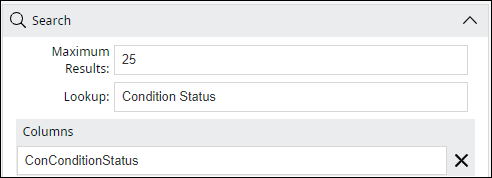
Note: This does not restrict what value a user can enter in the search field (they do not have to select a value in the drop list) but of course only values in the Lookup list will be matched when the search is run. This does allow users to employ wildcards and to enter partial search terms, which means that more than one entry in the Lookup list can be matched (a search for good or go\* would match Good and Very good for example).
If the search column and the Lookup list are not the same (for example, the search column is Summary Data and the Lookup list is Condition status), the drop list simply provides suggested search values. A user can select from the drop list or enter any value and the search column will be searched for the specified value.
-
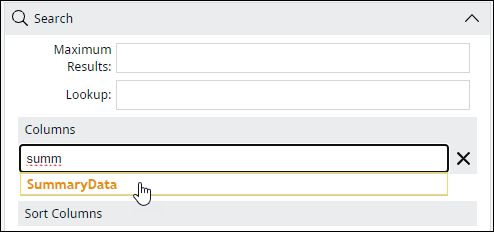
In Columns, specify which column will be searched for the search value entered by a user.
Start keying a field name in the Columns field and select the required field when it displays:
If required, add another search field by clicking Add search column.
-
(Optionally) click
 to sort the result set alphabetically or numerically.
Start keying a field name in the Sort Columns field and select the required field when it displays.
Tip: A sort field does not need to be a search field selected in the previous step.
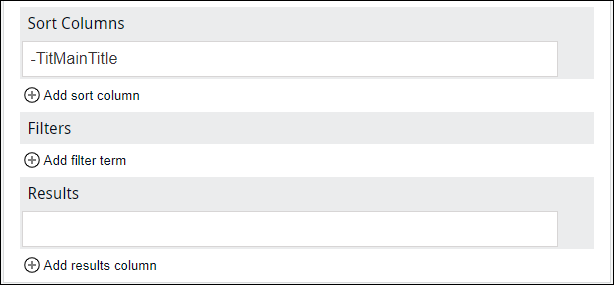
By default, fields are sorted A-Z, 0-9. To reverse the order, precede the field name with a minus sign:
If required, add another sort field by clicking Add sort column again.
-
(Optionally) add a filter by clicking
 .
.A filter allows you to refine which records are returned by a user's search.
 Example
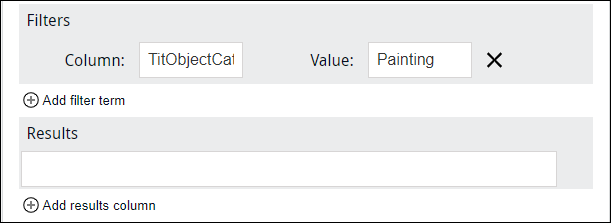
For example, if we only wanted to search Catalogue records for paintings, we could specify that only records where Object category =
Paintingwill be returned by the search:Note: EMu (version 5.0 onwards): escaped double quotes are required around any search value that includes a space,
New Zealandfor example, in order to match a value exactly: e.g.\"New Zealand\" - Click
 to specify which column(s) of data will display when search results are returned.
Start keying a field name in the Results field, and select the required field when it displays. In this example we add three fields (they will display in the order in which they are added):
In this example, Summary Data is searched for a user's search term and only records where Object category = Painting will be returned; the result list will display the IRN, Summary Data and Main Title of the returned records, sorted in reverse alphabetical order by Main Title:

 icons will display beside its name.