EMu 6.5 introduced the option to use OpenID Connect (OIDC) to authenticate access to EMu. The OIDC protocol allows an application to delegate authentication to an external identity provider. The identity provider handles confirmation of the user's credentials in a web browser and then authorizes the application, via a secure mechanism, to allow access to some of the user's basic profile information such as their name or email address.
Details here.
To begin working with EMu you must log in with a username and password. You may also need to specify which version of EMu to use.
In EMu, everything! Access to every aspect of EMu (modules, fields, functionality and more) is determined by the permissions assigned to a user and / or the groups to which the user belongs. When a user logs in to EMu all of the permissions assigned to the user are assessed and the system is customized accordingly.
A username is the key to working with EMu.
The Permissions model is described in detail in the Administration section of the Help.
- Double-click the EMu
 desktop shortcut
-OR-
Select Start>All Apps>EMu.
The EMu Login box will display:
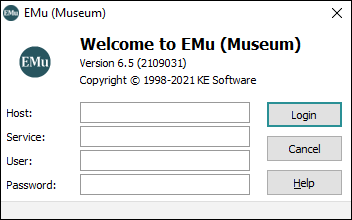
If this is the first time that EMu has been accessed from the current machine, the fields will be empty and you will need to provide login details. Subsequently all details last used, except for password, will be remembered by EMu.
- In the Login box:
- Enter the name of the EMu server in the Host field.
- Enter the name of the EMu service in the Service field.
 Service
In your institution's implementation of EMu, there may be a number of services (there could be a live service and another service for training). Service might be a name (e.g. Training) or a number.
Note: Your System Administrator can provide you with these login details.
If a Login with OpenId Connect checkbox is added to the Login box, your organization has implemented OIDC authentication:
 OIDC authentication
The OpenID Connect (OIDC) protocol allows EMu to delegate authentication to an external identity provider. The identity provider handles confirmation of your credentials in a web browser and then authorizes EMu to allow access to some basic profile information.
Enter your username in the User field.
Note: The username only functions as a hint to the external identity provider as it is possible to sign into the provider with an account that is different from the one specified in EMu; this is resolved when you sign into the identity provider and the EMu client has connected to the EMu server.
- Select the Login with OpenId Connect checkbox if you want to login using OIDC.
Tip: You would deselect the checkbox if you were an Administrator, for instance, who wanted to login to EMu using a local account.
The Login box will adjust depending on how many identity providers have been registered:
If only one provider has been registered, the Login box will display as:
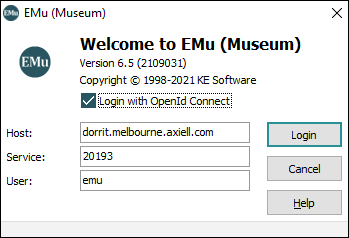
If multiple providers have been registered, the Login box will include a Provider drop list:
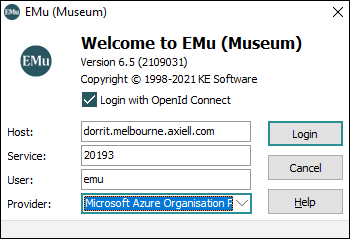
In this case, select the appropriate provider to use from the drop list.
Click Login.
The identity provider's authentication page will open in a browser and here you enter your account credentials.
Note: If signing in for the very first time, you will be prompted to allow the application to access your basic profile information such as name or email address.
The EMu application will wait while you complete authentication in the browser:
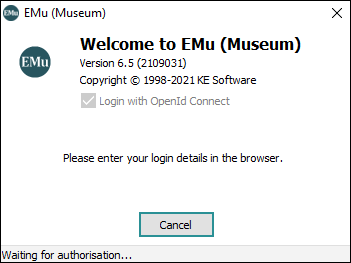
Note: The EMu application will display an error and return to the EMu Login box if sign-in is not completed within 5 minutes.
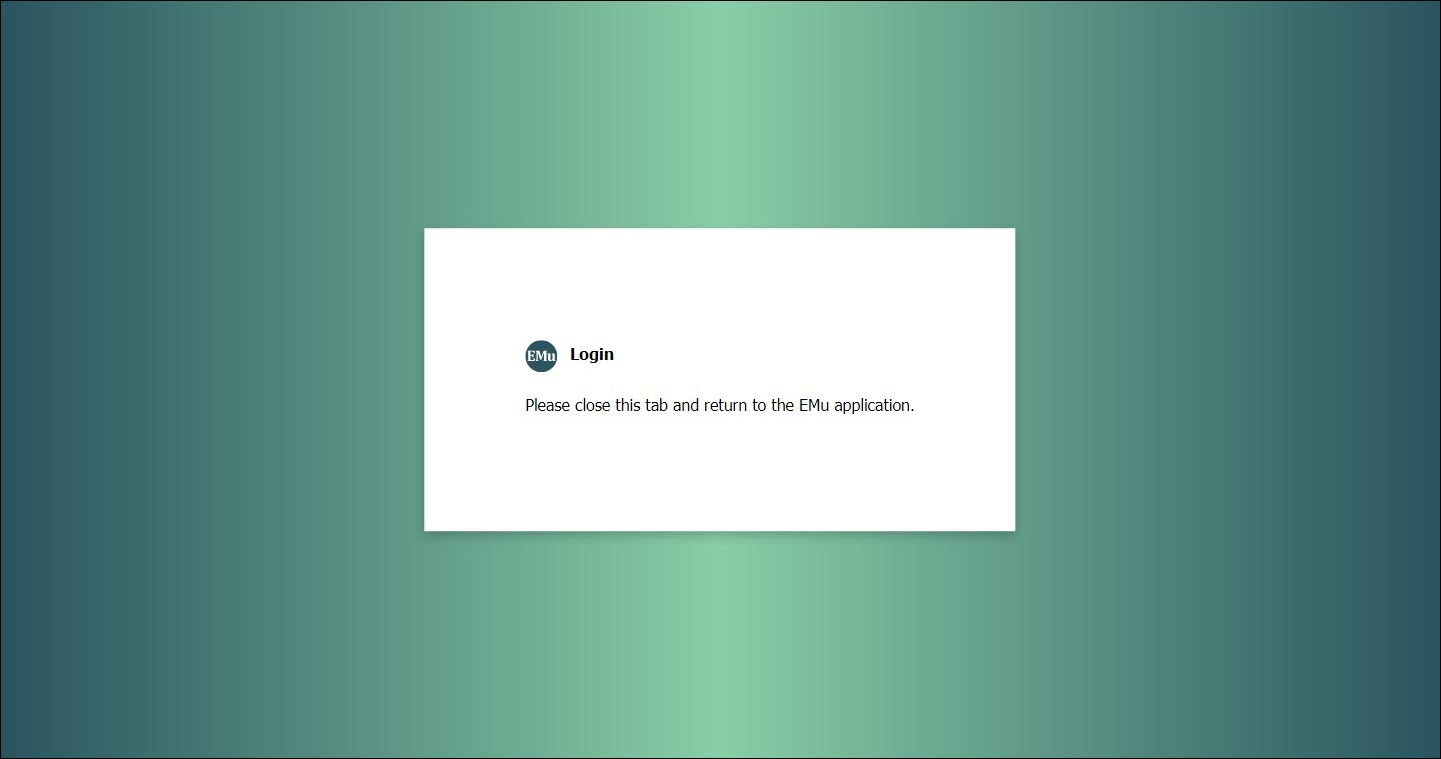
When you have signed in, you will be redirected to an EMu specific confirmation page:
The EMu application will resume control at this point and attempt to connect to the EMu server.
Note: Successfully authenticating in the browser does not mean that you will successfully connect to the EMu server. For instance, you could still have a problem connecting to the EMu server if the host or port number used is incorrect or if the user is not specified in the EMu Registry.
On successful login, the EMu Command Centre will display.
From the Command Centre you can open one or more modules.
- Enter your username in the User field.
A Group drop list will be added to the Login box if you are a member of more than one group:
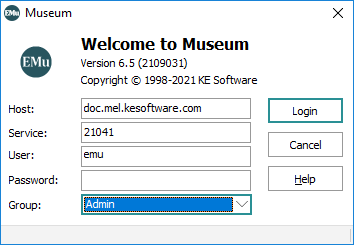
- If the Group drop list displays, select the group you wish to log into.
Tip: It is possible to switch groups at any time.
- Enter your password in the Password field.
- Click Login.
On successful login, the EMu Command Centre will display.
From the Command Centre you can open one or more modules.
- Click
 in the Command Centre
-OR-
Click the
 in the top right corner of the Command Centre.
If you have made changes to a record and not saved it, the following warning message will display:
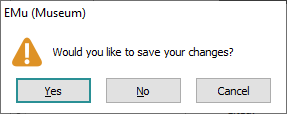
In this case you would click:
- Yes to save the changes and exit EMu.
- No to exit EMu without saving the changes.
- Cancel to return to EMu.
The Command Centre and all open module windows will close.
As the Axiell hosted service uses HTTPS, it is necessary that your institution allows internet communication via port 443 (HTTPS).
If Axiell hosts EMu for your institution in one of its regional data centres, use the following instructions to connect to EMu:
You access your hosted EMu service with a remote desktop connection installed on your PC. It is first necessary to download an RDP file to your local PC - it is only necessary to perform this step once.
- In your web browser, navigate to:
- https://rdweb.hosting.melbourne.axiell.com
-OR-
- https://rdweb.hosting.sydney.axiell.com
Tip: Your System Administrator will tell you which address to use.
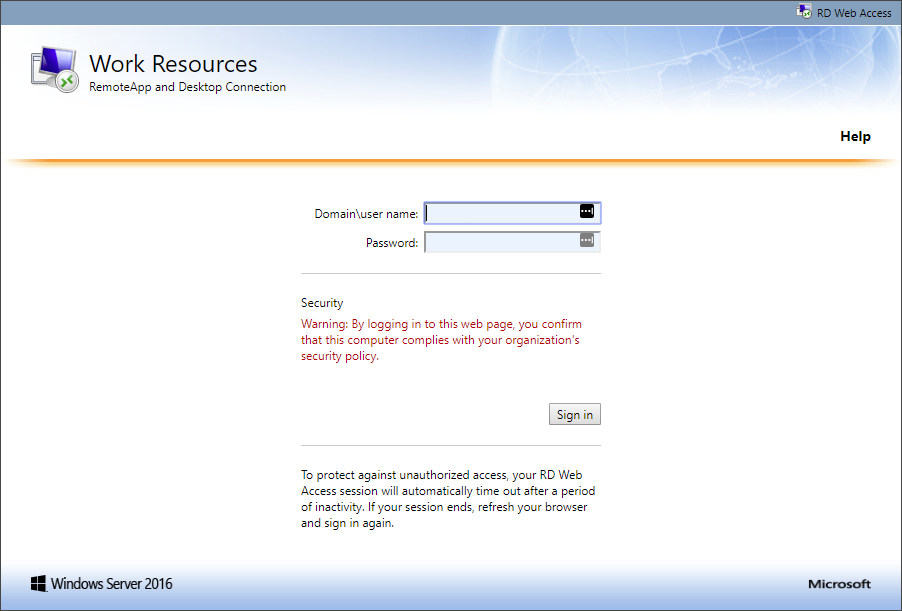
The Login screen displays:
- https://rdweb.hosting.melbourne.axiell.com
- Enter your username and password.
When entering your username, you must include the domain: HOSTING\<username>
For example:
HOSTING\gerard - Click Sign in.
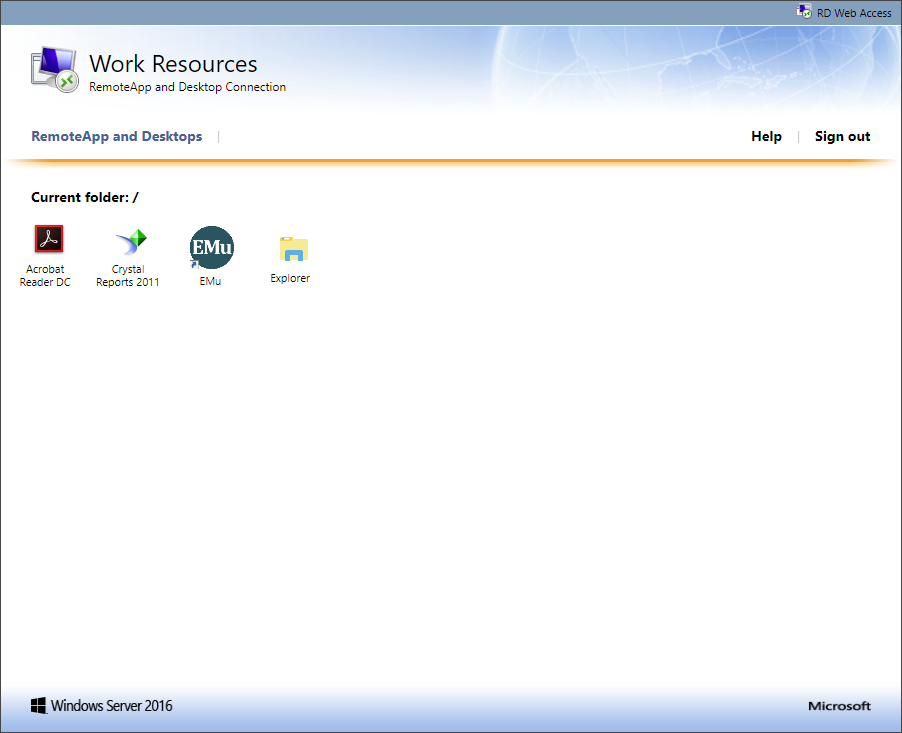
All applications that you have access to will be listed:
- Click the EMu RDP icon for the EMu service you will be connecting to (there may be more than one: a training service and the live production service, for instance).
An RDP file will be downloaded to your PC's default download directory (typically Downloads).
- Locate the downloaded RDP file (it will have a
.rdpextension).Running the RDP file will create a connection from your PC to the remote server. As you will need to run this program any time you want to work with EMu, you will probably want to move the
.rdpfile to another location on your PC (perhaps the Desktop).
- Double-click the EMu RDP file located on your PC to launch the Remote Connection.
A window similar to the following will display:
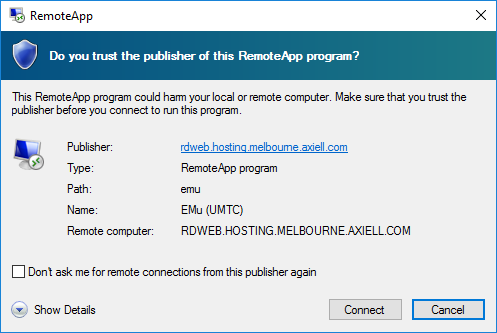
To stop this window displaying in future, click the checkbox beside Don't ask me for remote connections from this publisher again.
- Click Connect.
You will need to log in to the remote desktop session:
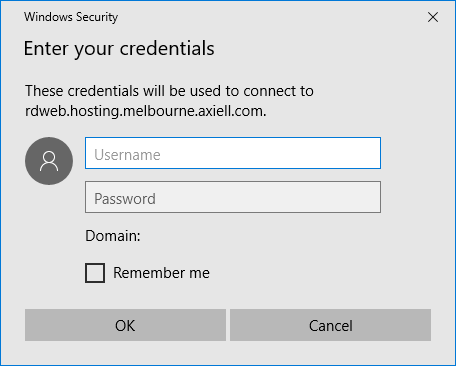
- Enter your username and password and click OK.
These credentials will be the same as those you used above.
Tip: Your System Administrator will provide you with login details.
Your PC will connect to the remote service and the login box for your hosted EMu service will display.
- Log in to EMu.
When you are finished working with EMu, logout of EMu (this will also close the remote desktop connection).
When you connect remotely, an RDP icon will display in your PC's System Tray (typically bottom right corner of your monitor):
![]()
You can also right-click this icon and select Disconnect to close the connection.
If you receive the error message Cannot send to remote host (Number 310) when attempting to close the connection to your hosted service:
- Press
CTRL+ALT+END.A screen similar to the following will display:
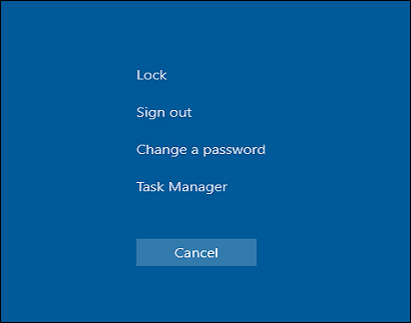
- Select Sign out to close the connection.
You access your hosted EMu service with a remote desktop connection installed on your Mac. It is first necessary to set up a connection using the Microsoft Remote Desktop - it is only necessary to perform this step once.
When your connection to the hosted service is set up:
- Open the Microsoft Remote Desktop app to connect to your hosted service and launch EMu.
- Close the Microsoft Remote Desktop app to disconnect from the hosted service.
- If not already installed, download the Microsoft Remote Desktop app from the Apple App Store.
As a minimum, Microsoft Remote Desktop 10 is recommended:
- Launch Microsoft Remote Desktop.
- Select the + and then select Feed:
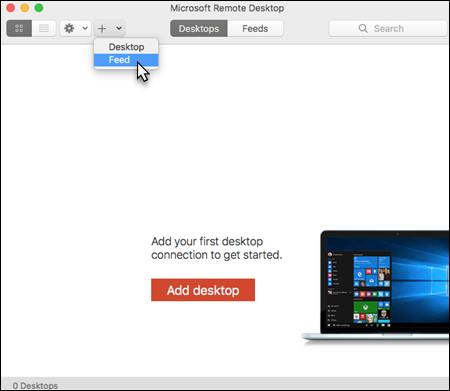
The Add Feed box will display.
- Enter the Feed URL:
- https://rdweb.hosting.melbourne.axiell.com
-OR-
- https://rdweb.hosting.sydney.axiell.com
Tip: Your System Administrator will tell you which address to use.
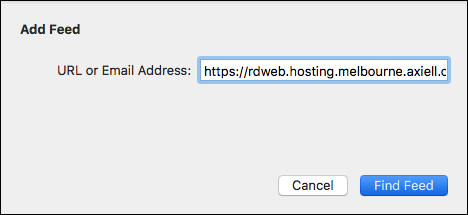
- https://rdweb.hosting.melbourne.axiell.com
- Select Find Feed.
The Select user account box displays:
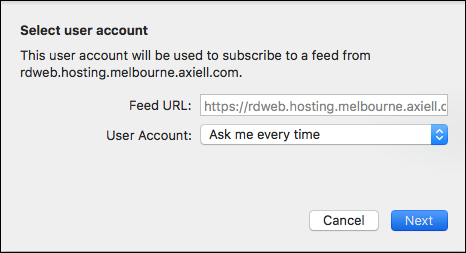
- Select Next and enter your account details in the following box:
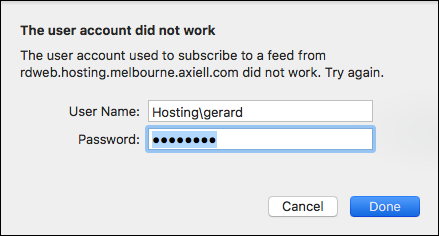
Tip: Your System Administrator will provide account details.
The format of your username is:
Hosting\<username>
- Select Feeds to access all applications you have access to:
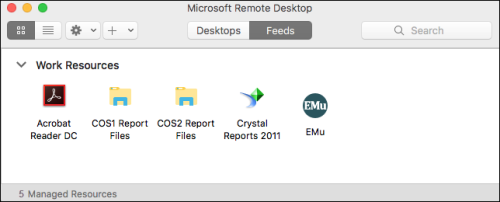
- Double-click an application, EMu for example, to launch it.
- Close the Microsoft RDP to disconnect from it.
You access your hosted EMu service with the Microsoft Remote desktop app installed on your mobile device (Android or iOS).
-
Install the Microsoft Remote Desktop app (search the Google Play store or Apple's App store) and run it.
- Add a remote desktop connection by selecting the + and then Remote Resource Feed:
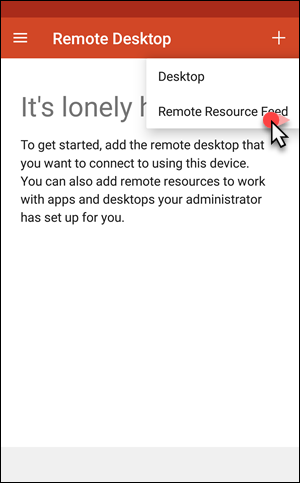
The Add remote resource feed screen displays:
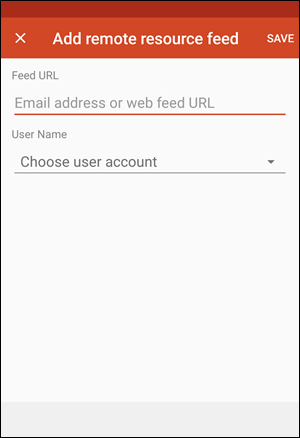
- Enter the Feed URL:
- rdweb.hosting.melbourne.axiell.com/rdweb
-OR-
- rdweb.hosting.sydney.axiell.com/rdweb
Tip: Your System Administrator will tell you which address to use.
- rdweb.hosting.melbourne.axiell.com/rdweb
- Tap Choose user account and select Add user account) to provide a username and password.
The format of your username is:
Hosting\<username>
e.g.
Hosting\gerard - Select Save.
- On the Add remote resource feed screen, select Save.
Once the app is installed and set up:
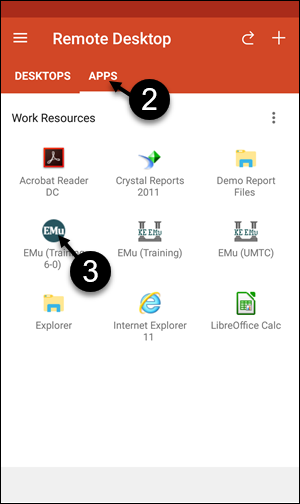
- Open the Remote Desktop app.
- Select the APPS tab.
-
Select an app, EMu in this example, to connect to the remote server and launch the app:
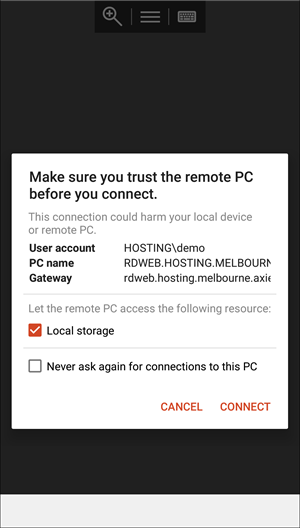
- Select CONNECT when prompted:
To disconnect:
- Close the app (in any way you normally would, e.g. File>Close).
-OR-
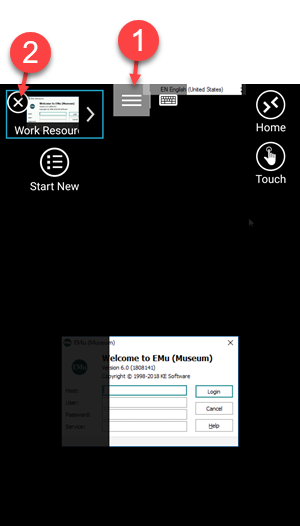
- Select the menu icon at the top off the RDP screen.
- Select X beside the open app icon:
